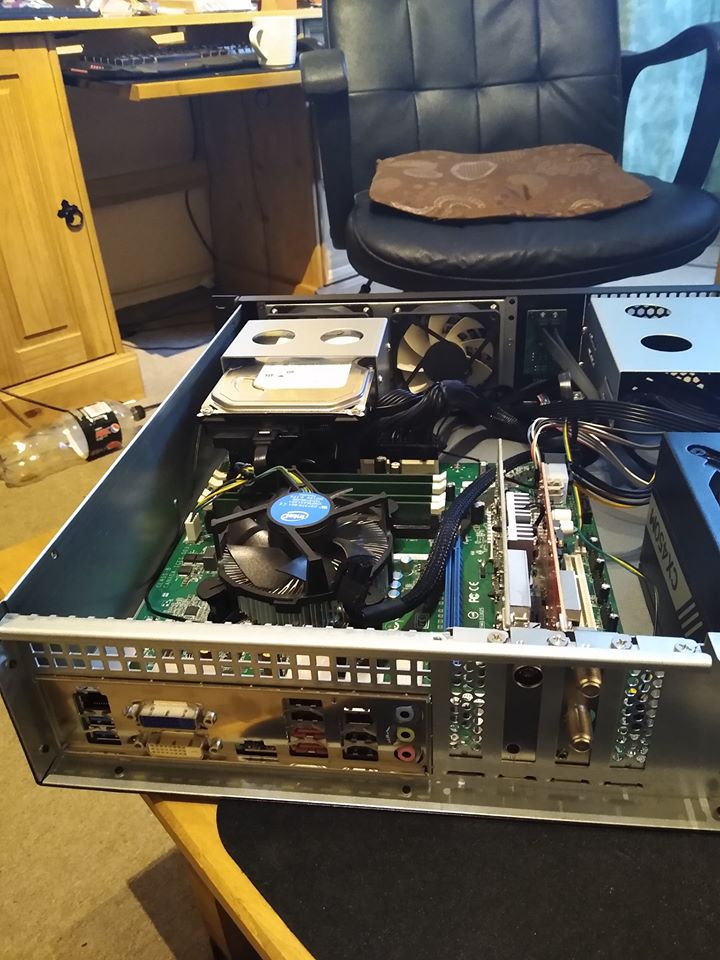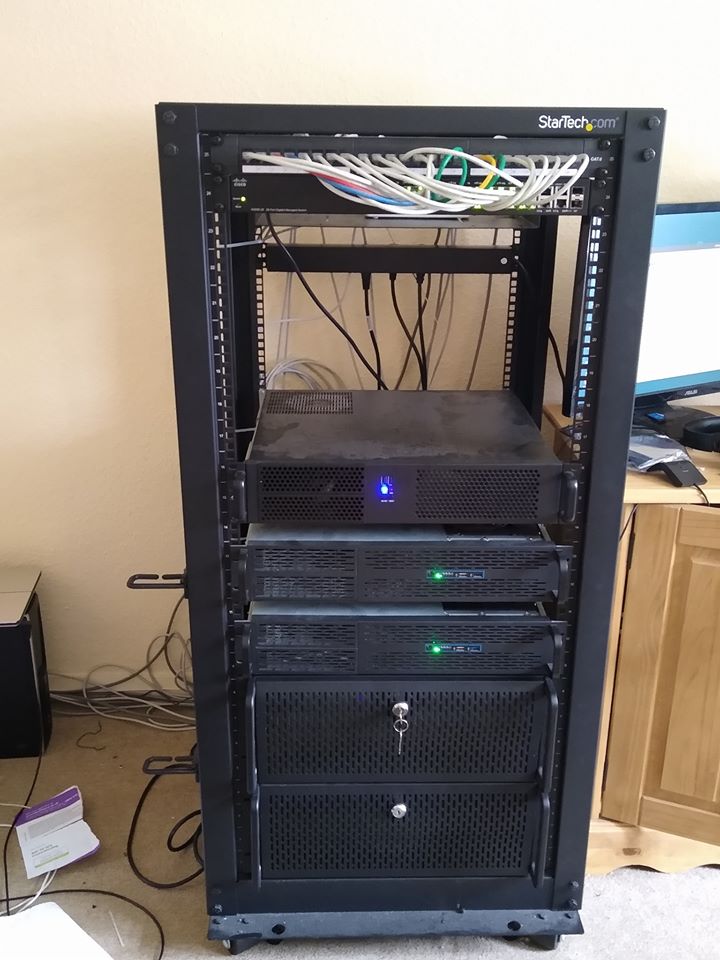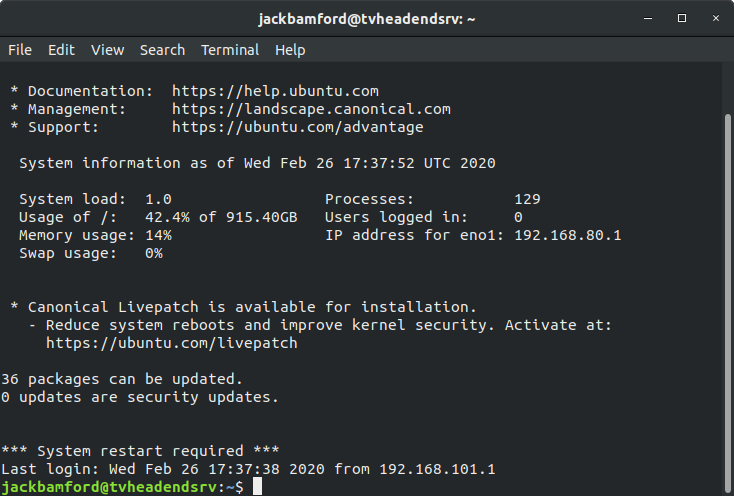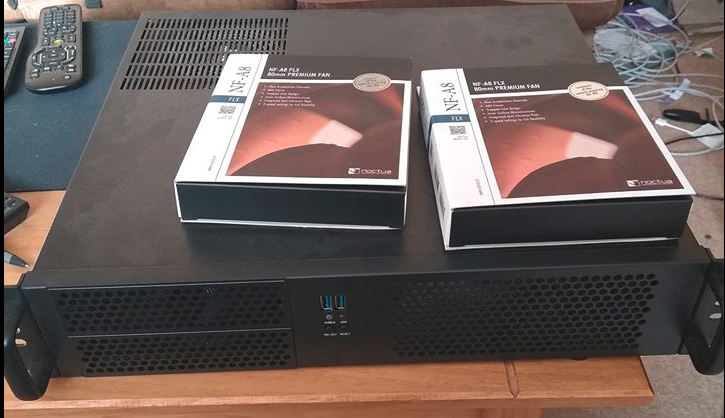
So I moved my TVH Server into another machine and bought a rack mount case from xcase.co.uk, Velvet which was the App Server was running the TVH Server but i also moved Velvet into another rack case and now only being used as a Virtualization Server. I was debating on whether to virtualize TvHeadend i did test it in XCP-ng but had a problem with timeshift and recording crashing when running over NFS (Network File Sharing) not sure as too why this was a problem, i decided to just buy another case and rails and use a separate machine.
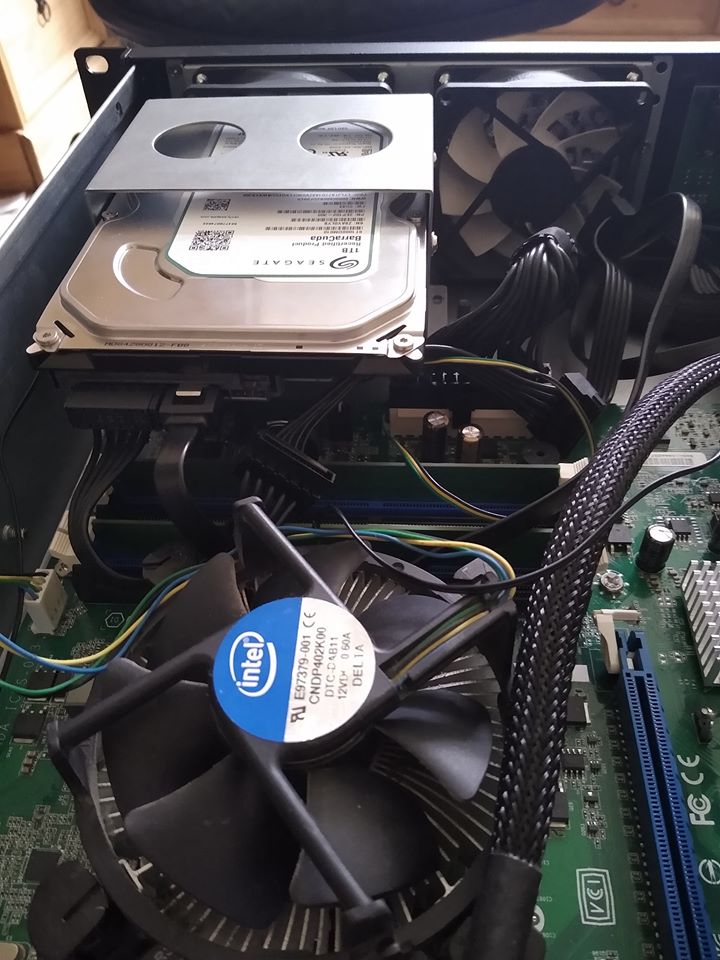
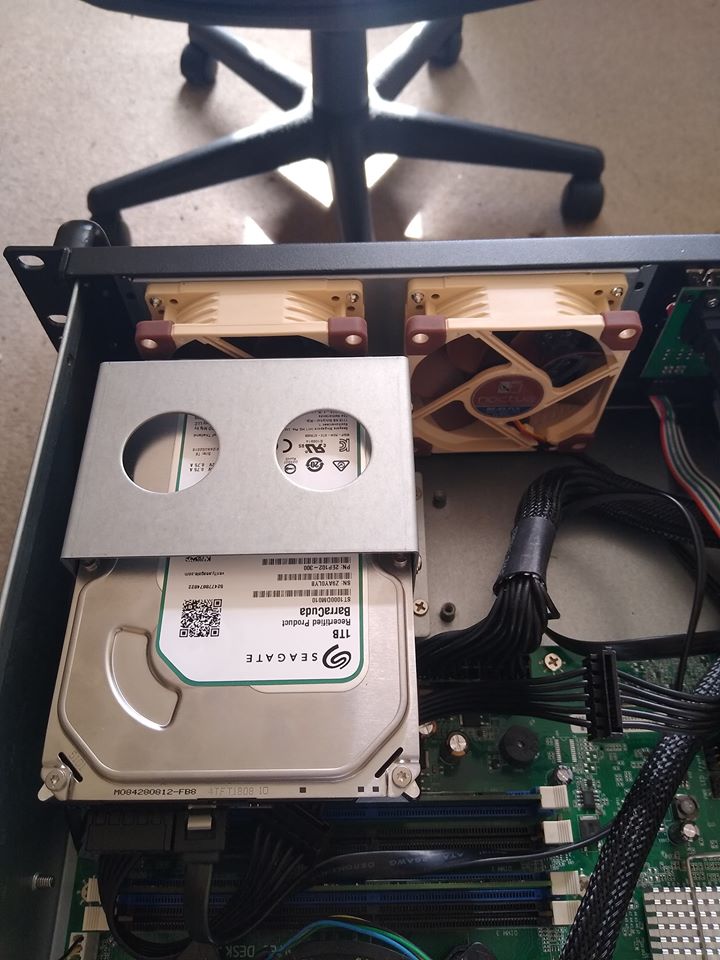
The RackPc Chassis D214 2u Short is the case i decided to pick up which is perfect for this build, the motherboard which is used in this TVH Server is the board out of Vaultmort. The DQ67SW with 4GB of RAM from Intel is the perfect board for this application its CPU is a intel Pentium G640T I picked this CPU up from ebay for £1 which is a steal.
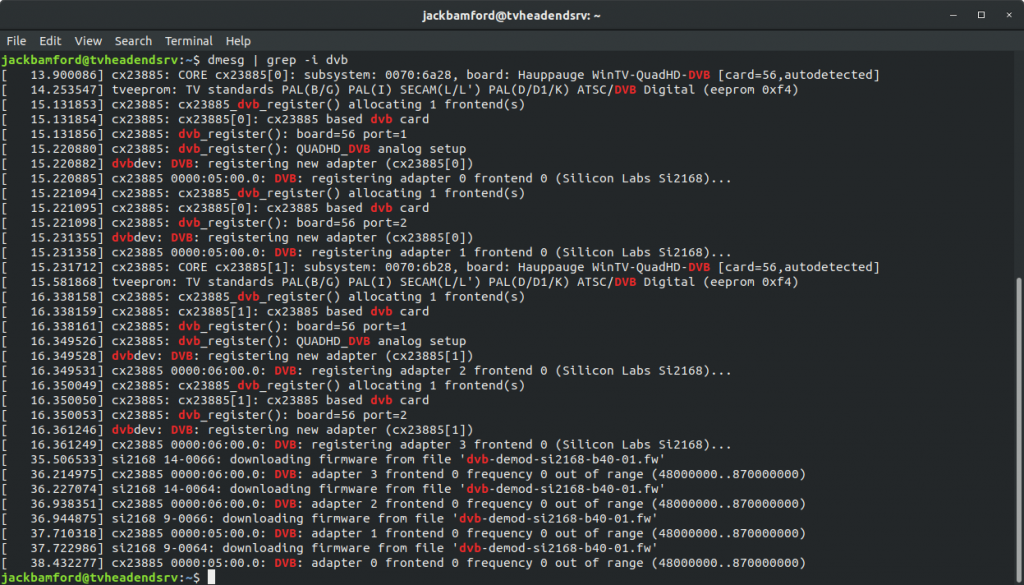
So i did change a few things after tho i decided to remove the DVB Sky S952 i wasn’t having any problems with it i just didn’t use it , the Hauppauge QuadHD is the main Tuner in this setup and is used quite a lot.
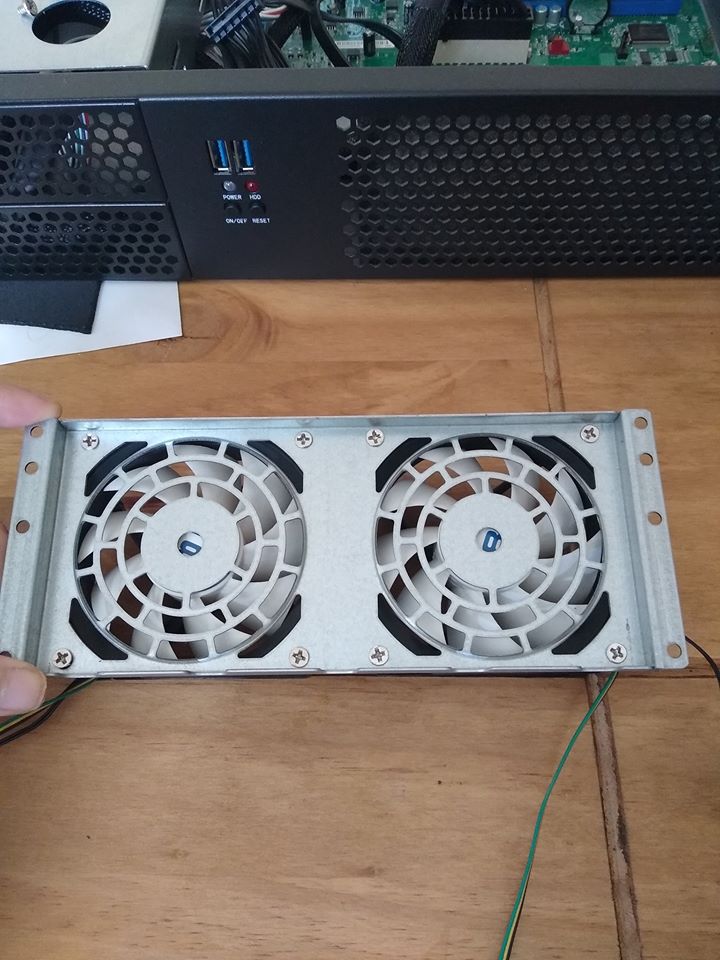
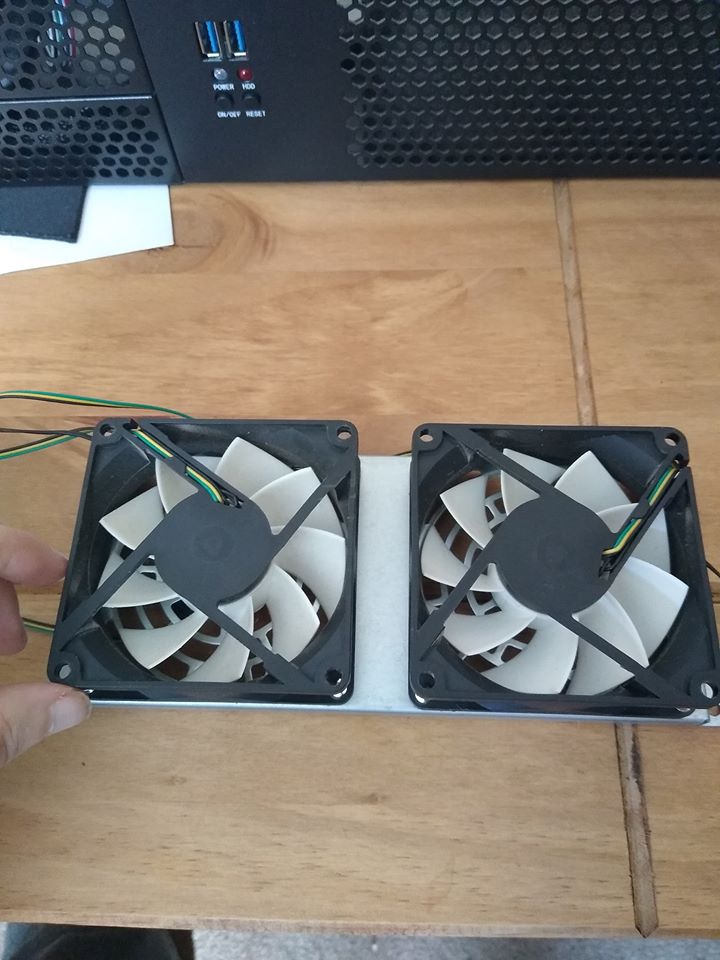
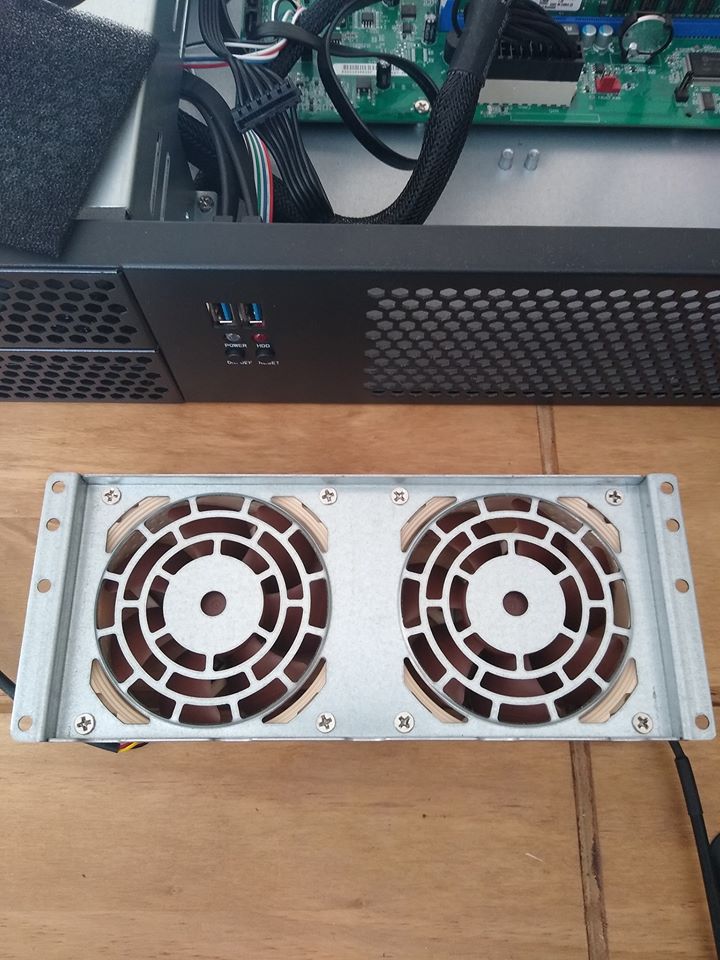
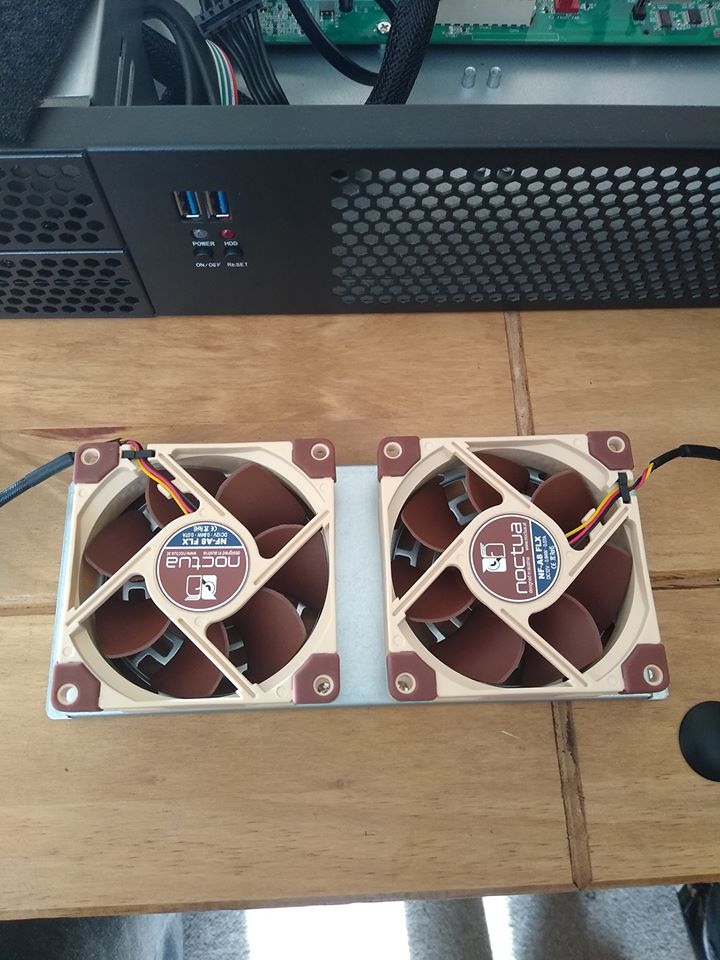
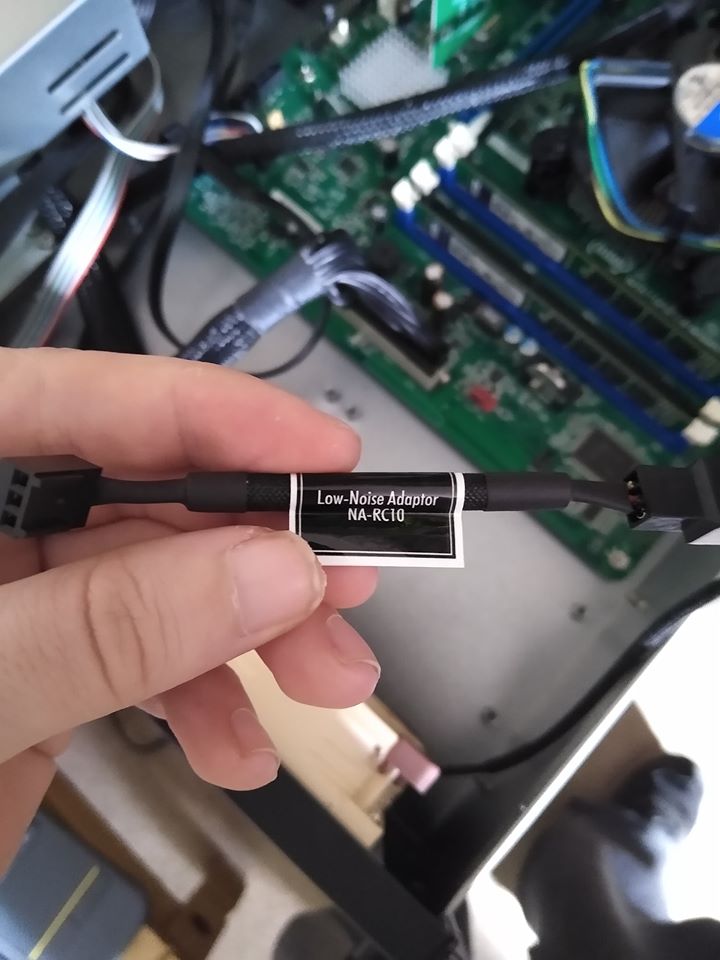
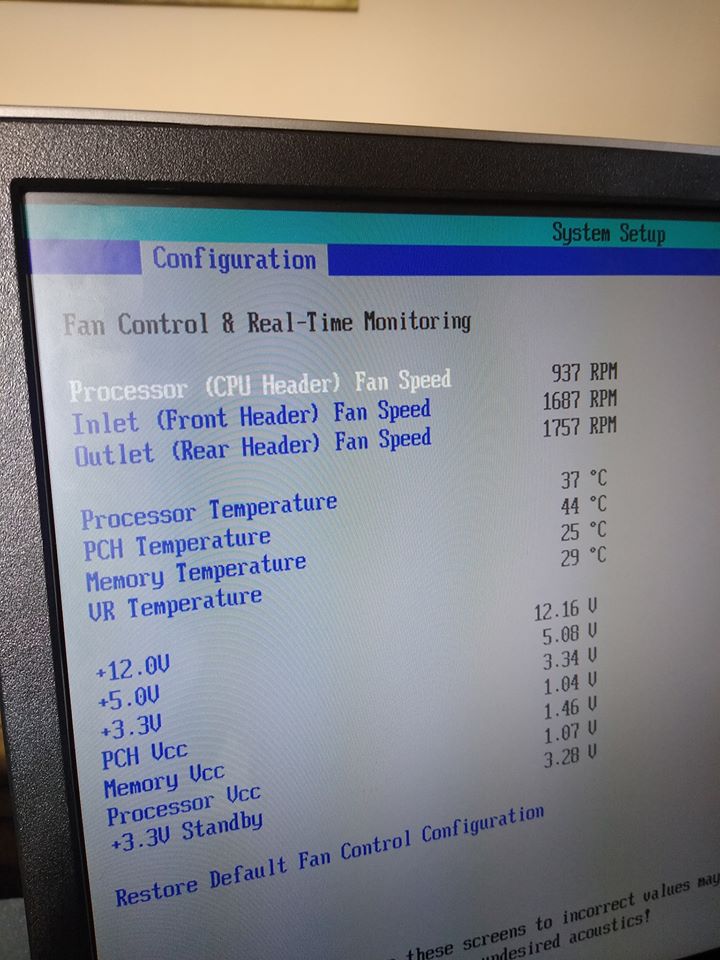
The QuadHD is still working great and works in Ubuntu Server 18.04 with the latest Kernel so no problems except for heat this Demodulator chip gets very hot and requires decent in the cooling personally its better to put a fan on the heatsink. I did end up changing the original fans because of the heat in this 2u chassis, changed the fans to Noctua 80mm Fans. With the Noctua fans i decided to use the NA RC10 which makes the fan run at a lower RPM.
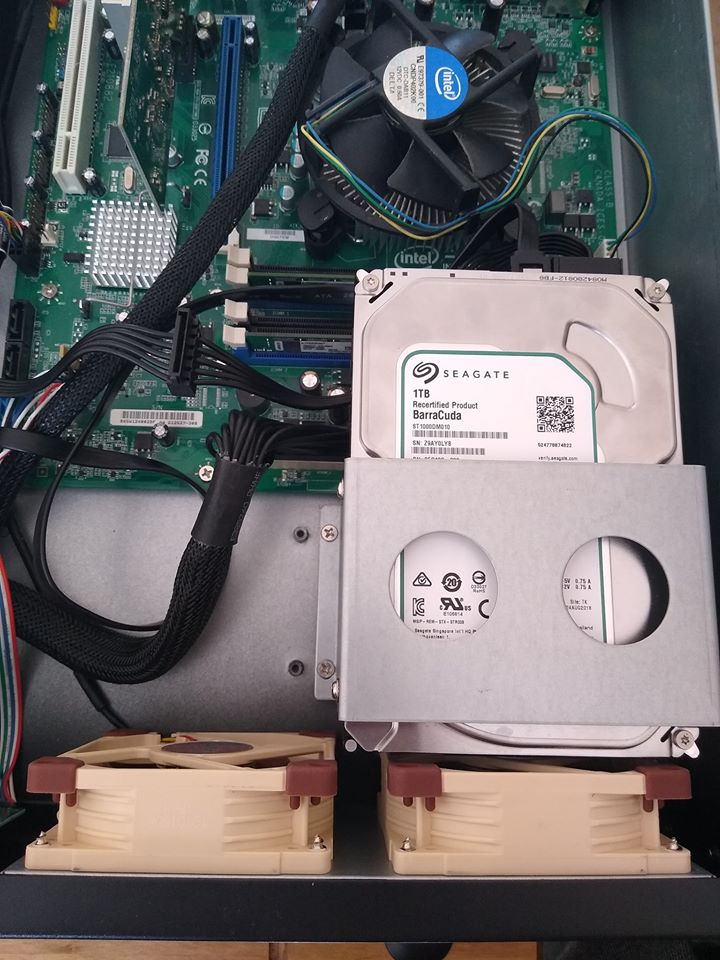
The Storage i went with is a 1TB Hard Drive from Seagate but i am going to change it to 2x 500GB in a Mirror with mdadm the reason why is because the drive im using is a re-certified drive that Seagate sent me but the issue with it is the noise it makes.
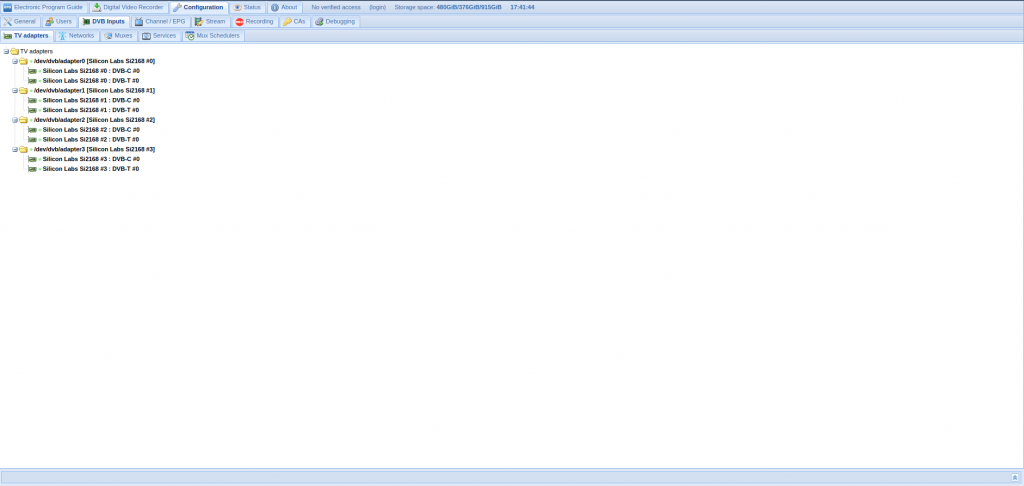
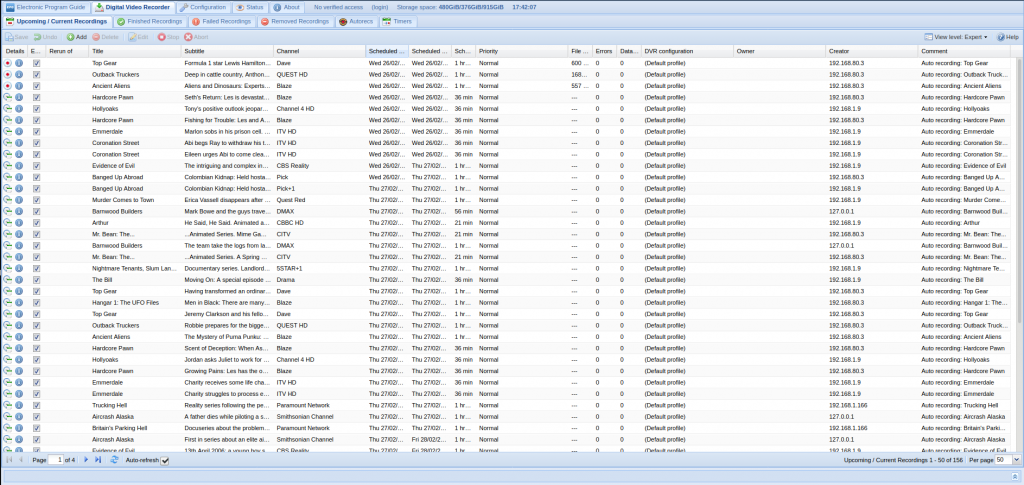
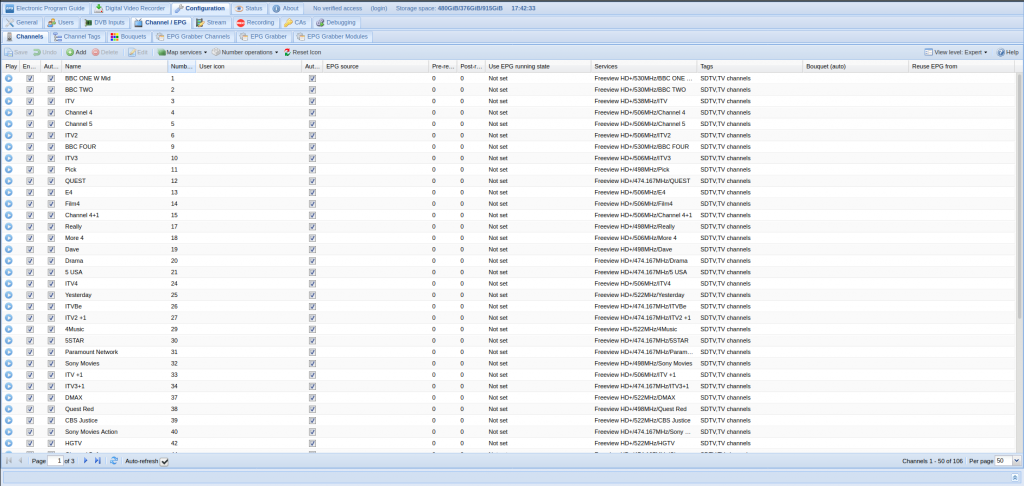
I love TVheadend and love what you can do with it anything that has a web browser or kodi with Tvheadend add-on will work, even the recording and timeshift works it just works so well with the QuadHD Tuner.
Here are some pictures of the finished project.

