Things you will need,
- A Computer running Windows 7 or newer.
- Access to the Internet.
- A 4GB USB Stick or Higher.
- Rufus can be downloaded from https://rufus.ie/
- ISO image of Ubuntu Desktop.
Lets get started. There are a few ways to obtain a Ubuntu ISO image you can download it via P2P aka Torrent or just a normal download it is your choice. Download from https://ubuntu.com/download/desktop
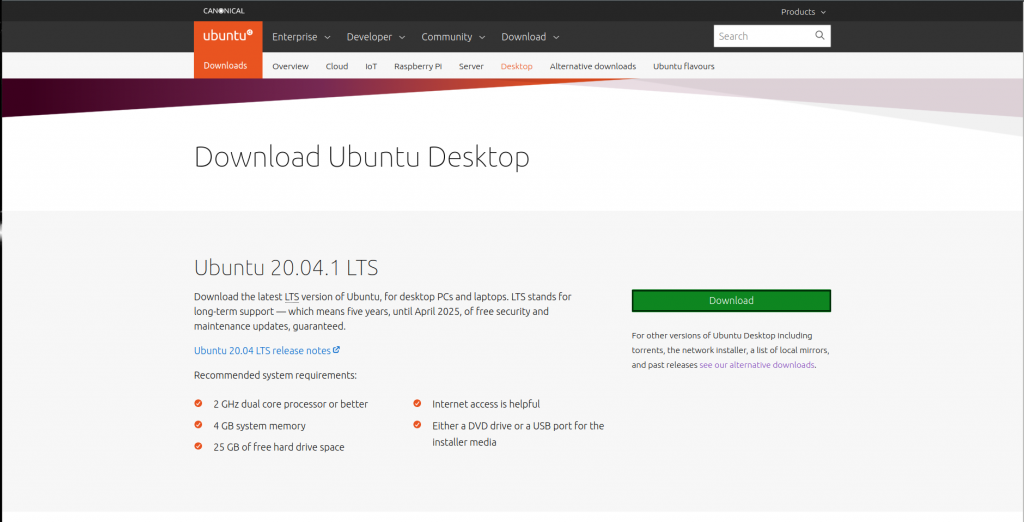
Once you have obtained the ISO of Ubuntu we can now use Rufus to create the Pen Drive.
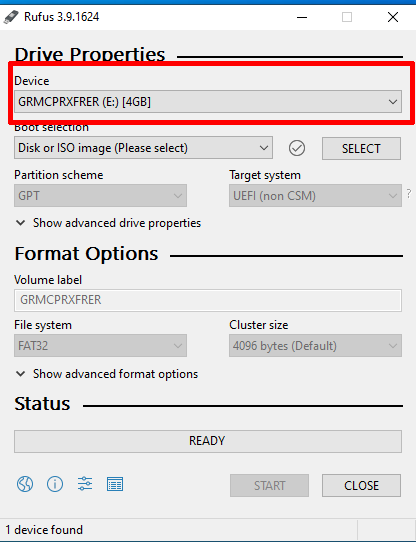
Open Rufus and make sure to select the correct USB Device,
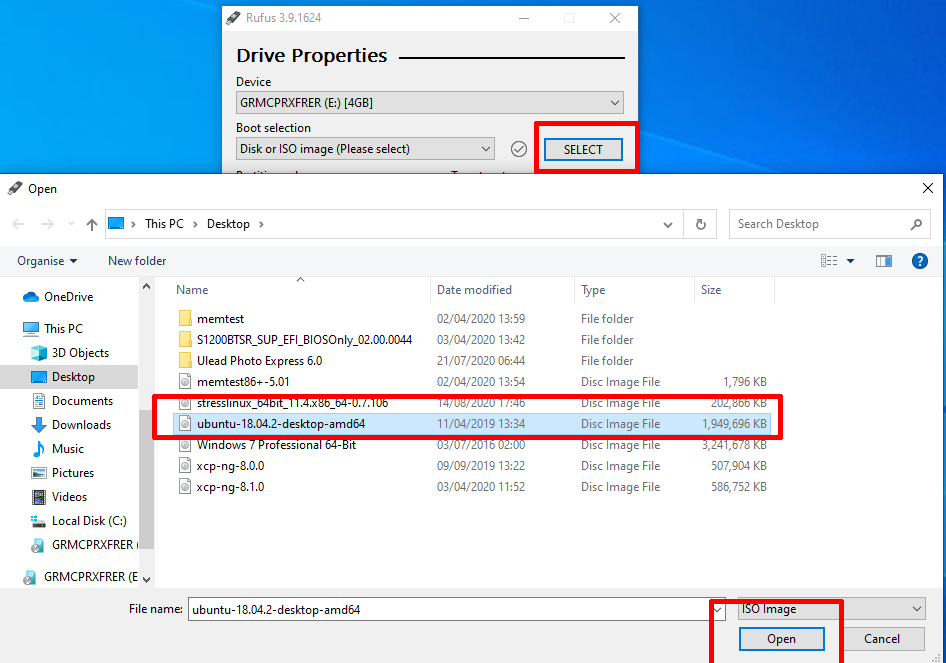
Once selecting the correct Device/Pen Drive we now need to point Rufus to the ISO i am just using a Ubuntu 18.04 image in this guide, Click on Select,
When Rufus has the ISO Image under boot selection we can now determine which Partition Scheme you want. UEFI can boot in both MBR and GUID but Legacy BIOS’s cant food UEFI/GUID but in this guide i am choosing GUID.
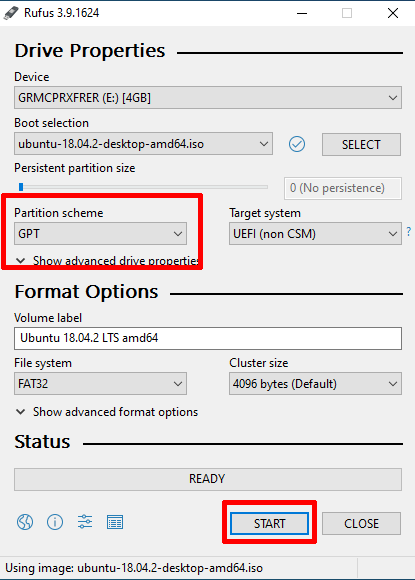
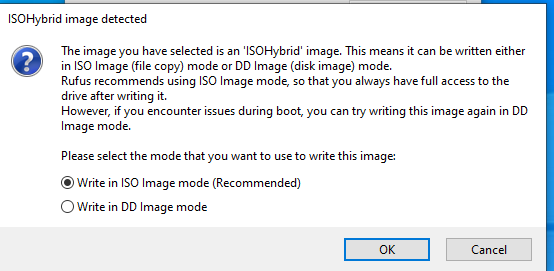
Now we have selected which Partition scheme you want we can just click on Start you will be prompted to with a box saying that the image you have selected is a Hybrid Image. Recommend using Write an ISO Image Mode. Click on OK.
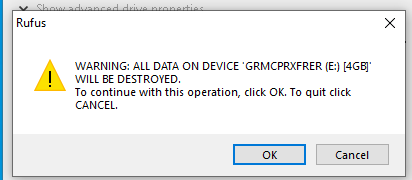
Then another box will pop up warning you that all files will be destroyed just click on OK. Then files will start copying over to the USB.
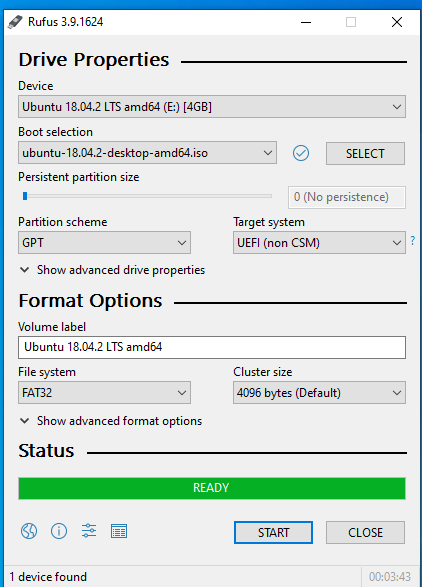
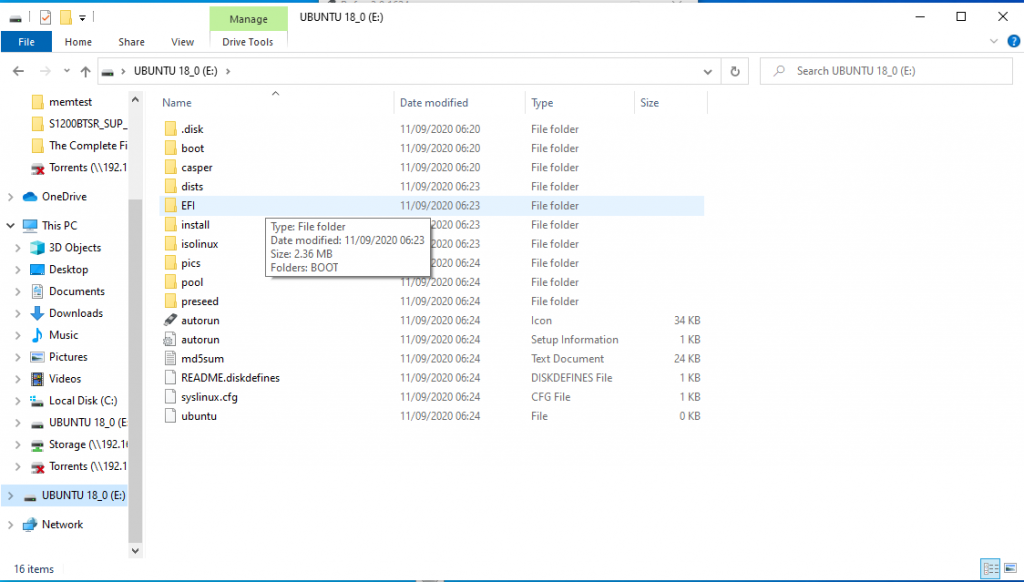
Once Rufus have finished your Ubuntu Live USB is now bootable.
Enjoy.
